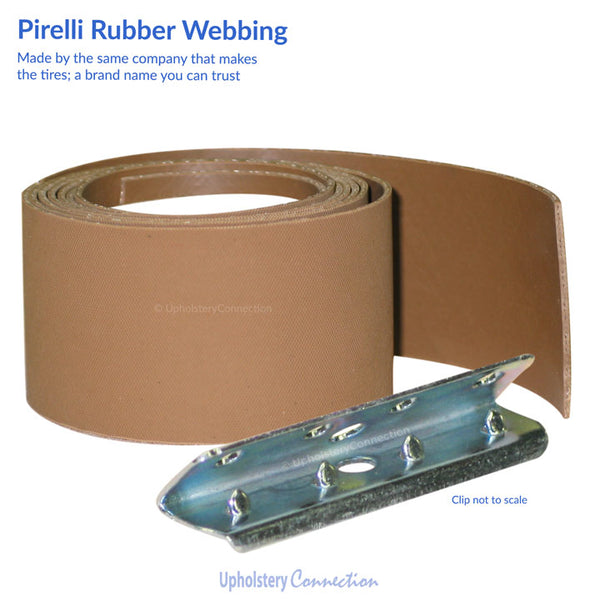
Pirelli Rubber Webbing / Rubber Webbing Clips
$ 3.95
-
Very Important Note About Shipping:
If you are purchasing just rubber webbing and / or the clips, when checking out, the website will likely waaaay over calculate the shipping charges, and there is no way for us to change this. This is because analyze each order to always ship the cheapest and most reliable way, which is typically USPS First Class or Priority Mail. Please trust we will NOT charge your credit card for this amount. Rather, we only charge the actual shipping charges plus a small handling fee.
For example, here are some actual shipping charges (as of Nov 2020):
- 60 ft of webbing and 40 clips to OH: $19.67
- 30 ft of webbing and 30 clips to NC: $17.50
- 40 ft of webbing to GA: $19.14
- 12 ft of webbing to GA: $11.50
- 50 ft of webbing to WA: $16.49
Here's how it works:
- Complete your purchase with the website's shipping charges (your credit card will only be authorized for and NOT charged this amount)
- When your order ships, your card is charged only for the products and adjusted shipping costs
- You will see the difference in the final order details
Sorry for any confusion! Hope this image of our "back-end" (of the first example) helps makes this clear:

***********************
To learn how to measure and get more information on rubber webbing clips, see orange tabs above.
Many thanks to the kind people at Henry Link who, for so many years, referred all their customers to us! We were very flattered by this and did / do our best to earn this referral and excellent customer feedback.
Our rubber webbing is a great replacement strapping and alternative to springs in many types of furniture, mainly those that have a flat surface (i.e. Henry Link furniture, Morris chairs, Mission-style chairs, dining chairs, rattan furniture, lounge chairs, etc.) When stretched across the frame and secured with special rubber webbing clips (order from the drop-down menu above), the rubber surface gives an extremely durable, solid foundation that is very comfortable, with just the right amount of bounce and give.
Not all rubber webbing is made of the same quality. Yup, our “stuff" is made by Pirelli, the Italian dudes / dudettes who make tires and rubber, so you're getting the best quality product made by a trusted brand.
If your old rubber webbing width is 1-1/2" to 1-3/4", it's likely shrunk down from two inches, the standard width of rubber webbing and clips.
- Important note: clips are not automatically included with the webbing; purchase metal fastener clips in the drop-down menu above.
- Width = 2"
- Thickness: thicker than 1/16" - actually 1.5/16th's if there's such a number
- Click the "How to Measure" tab above for details on how to determine how much you need
- Price is by the running foot; input desired quantity before clicking "add to cart"
- Quantity is shipped in almost* one continuous length (i.e. if "4" is in the quantity box, one piece, four feet long, will be shipped)
- * Because of the way Pirelli manufactures the webbing, if you order more than approximately 50-60 feet, there may be a seam / break in the length. If this is the case, we will notify you before we ship.
Important note: Item is not returnable. Purchasing this product implies adherence to this policy. Thank you for your understanding.
-
Use our heavy metal clips, made especially for the Pirelli webbing, to fasten two-inch rubber webbing to the frame. These clips are needed for Henry Link, Morris and Mission-style chairs.
You'll need two clips for each strip of webbing.
Price is by the clip: input desired quantity before clicking "add to cart
-
How does one know how much webbing to order? Here's how to measure what you need:- Grab a pencil, paper and a tape measure.
- For your furniture frame, think rows (the width if the seat) and columns (length of the seat from front to back). You'll need to interweave the webbing to get a firm, solid surface / seat. Some people only span one side and not interweave. While this saves money upfront, the seat will sag much sooner and will not be comfortable. Perhaps you've already experienced this? Why skimp on materials when you're spending the time and effort to repair something that you want to last?
- For this example, we're going to use a seat frame that is 20" wide (side to side), and 18" long (front to back).
Get ready for some simple math, and if you need some help, enlist a teenager, because they know everything, right? 🤣
- Grab that tape measure and measure the width (side-to-side) of your seat frame. Write that number down and divide by 2. The reason why we're dividing by 2 is because the webbing is 2" wide. This measurement will determine how many columns are needed to go across. For our example, a 20" width needs 10 columns (10 ÷ 2" = 10 columns).

- Now do the same, but in the other direction (side-to-side). This will determine how many "rows" you need to span side-to-side. For example, an 18" length needs 9 rows (18" ÷ 2" = 9 rows).

- Let's now focus on the columns (front-to-back). This next measurement will tell us how many inches we need to cover all the columns. Remember how you wrote down 10 columns? Now multiply that number by the height of your frame, which for our example, is 18". Here's what that looks like: 10 columns x 18" length = 180 inches)
- We're going to do the same thing for the rows (side-to-side). This measurement will tell us how many inches we need to cover all the rows. Multiply the number of rows (9) by the width of your frame. For our example, this would be 9 rows x 20" length = 180 inches)
- Now we're going to add the rows and columns together to get the (almost) total amount of inches of webbing you'll need. Continuing with this example: 180" (columns) + 180" (rows) = 360 total inches.

- You're doing great! And that teenager isn't even near you.
- Now convert the inches to feet, so:
360 (total inches) ÷ 12 (one foot) = 30 feet
- Almost there! You'll need to add a few extra feet to account for stretching/pulling, etc. Remember: you'll need to grip the webbing to pull and affix to the clip or frame, which means you'll need something to hold onto. Better to be safe and order a few extra feet than to order under and be short in the middle of a project.
- We strongly recommend the following for projects requiring:
- less than 20 feet: add two more feet
- 20 - 40 feet: add three more feet
- 50 - 70 feet: add four more feet
- Continue adding one foot for every 25-30 feet as such. Thus, the total amount needed for this example:
33 running feet
-
Extremely important note: we strongly recommend you cut each length only after you've measured the distance the strip of webbing will span. If you pre-cut all the strips at the onset, you risk wasting material if all the spanning distances are not uniform.
- Congrats! You did it! Woohoo!!!
- Grab a pencil, paper and a tape measure.
Related Items
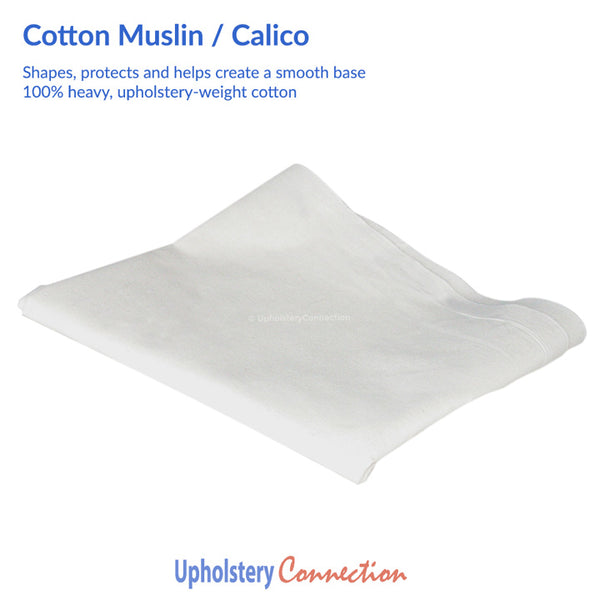
100% Cotton Muslin
$ 9.95
Our 100% unbleached cotton muslin is very high quality with a tight, even weave. It's made especially for upholstery, meaning it's heavy weight so as to withstand the pulling and...
100% Jute Upholstery Burlap
$ 4.95
Our very high quality 100% jute burlap is exceptionally strong, heavy and made specifically for upholstery. Be sure to use upholstery-weight burlap for your projects. Burlap purchased from sewing and...
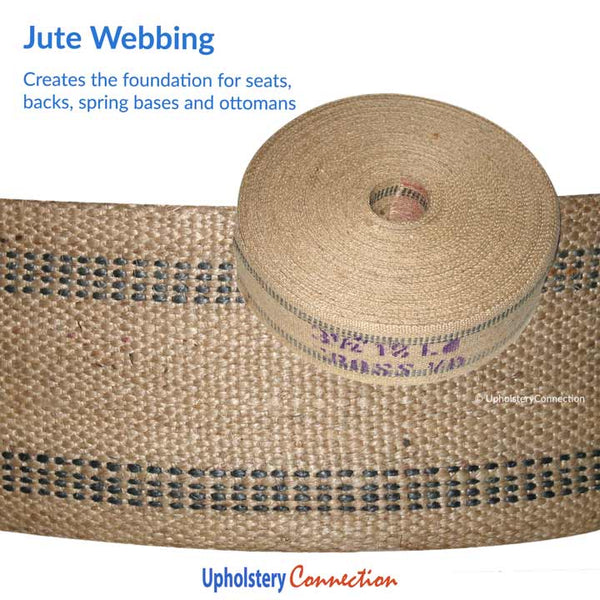
100% Jute webbing - Black Stripe
$ 4.95
Unfortunately, prices have gone through the roof, and we had to raise them substantially. 😢 Our black stripe jute webbing is a super strong, high quality webbing that creates a...
BB30BA - 3/4" Round Button or Prong
$ 78.95
BB30BA3/4" Brushed Antique Round Button or ProngStarlight Collection Quantity: Gross (144) Finish (images are color representations only):Brass / Gold Head Size / Diameter: 3/4" Available Backings: Select backing style from...


